Blog Archive

Tuesday, April 5, 2016

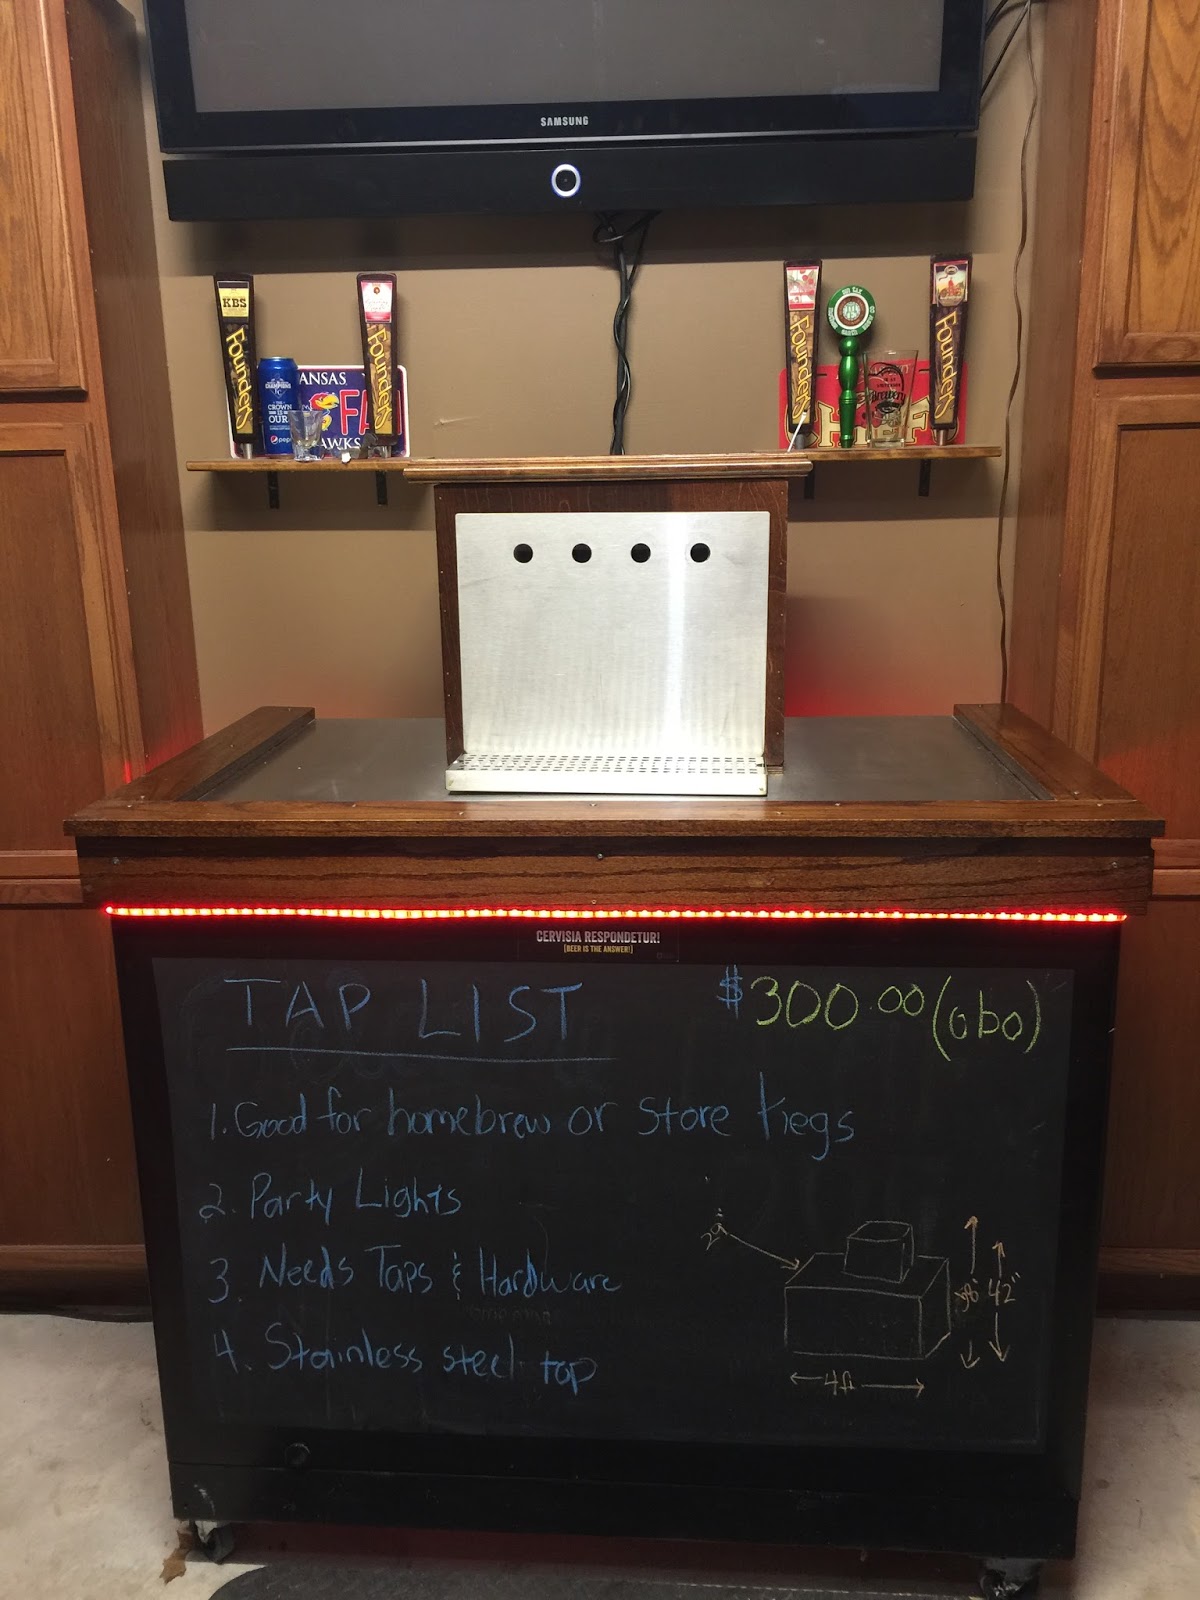
Keezer For Sale - $300 obo

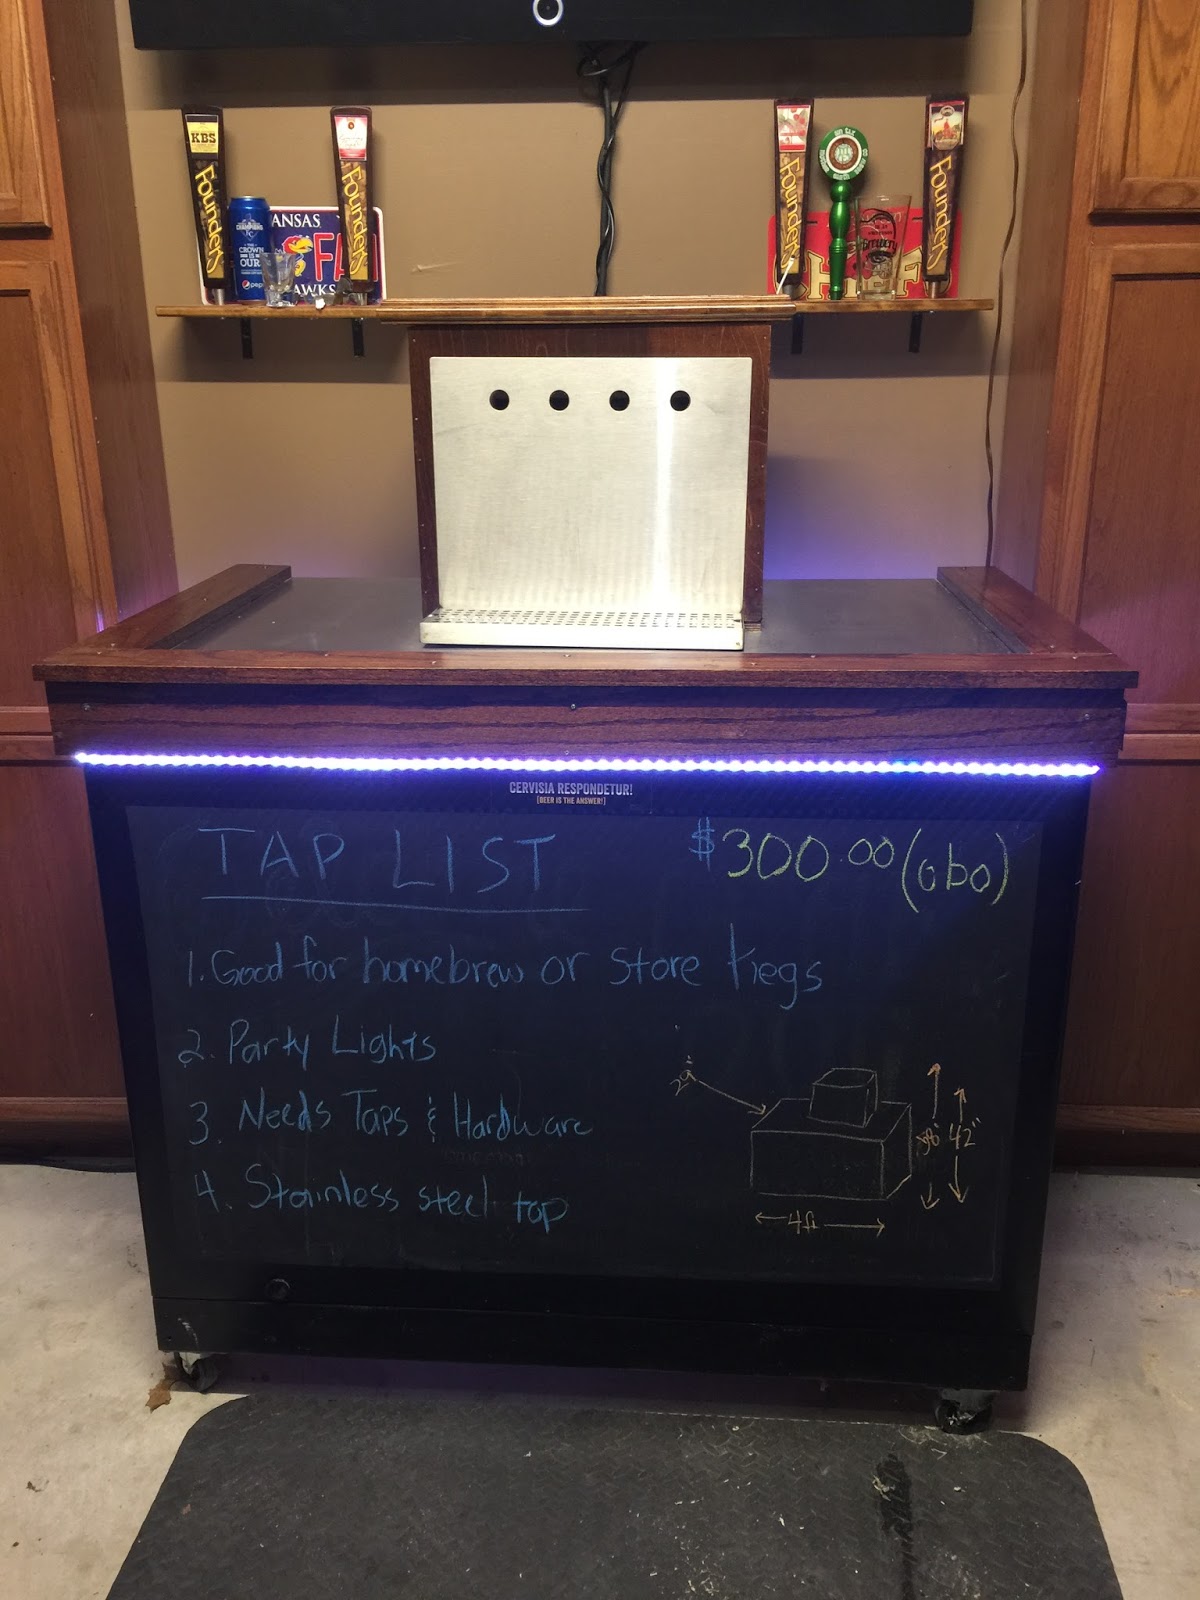
I have a "keezer" for sale.  As you can see in the photos it is a deep freeze that has been modified and turned into a kegerator.  Measurements are in pictures below.  $300 obo although it's going to be close.   Still way cheaper than a single tap kegerator even after you purchase what is needed.   I can be contacted at bstevenson72 @ gmail dot com.

What is has: 

  • Party Lights w/Remote control
    • Allows multiple colors or can change colors
  • Stainless Steel Top
  • Johnson Controls A419 temperature controller.  (Keeps freezer from freezing.  Maintains temp at what ever you want) 
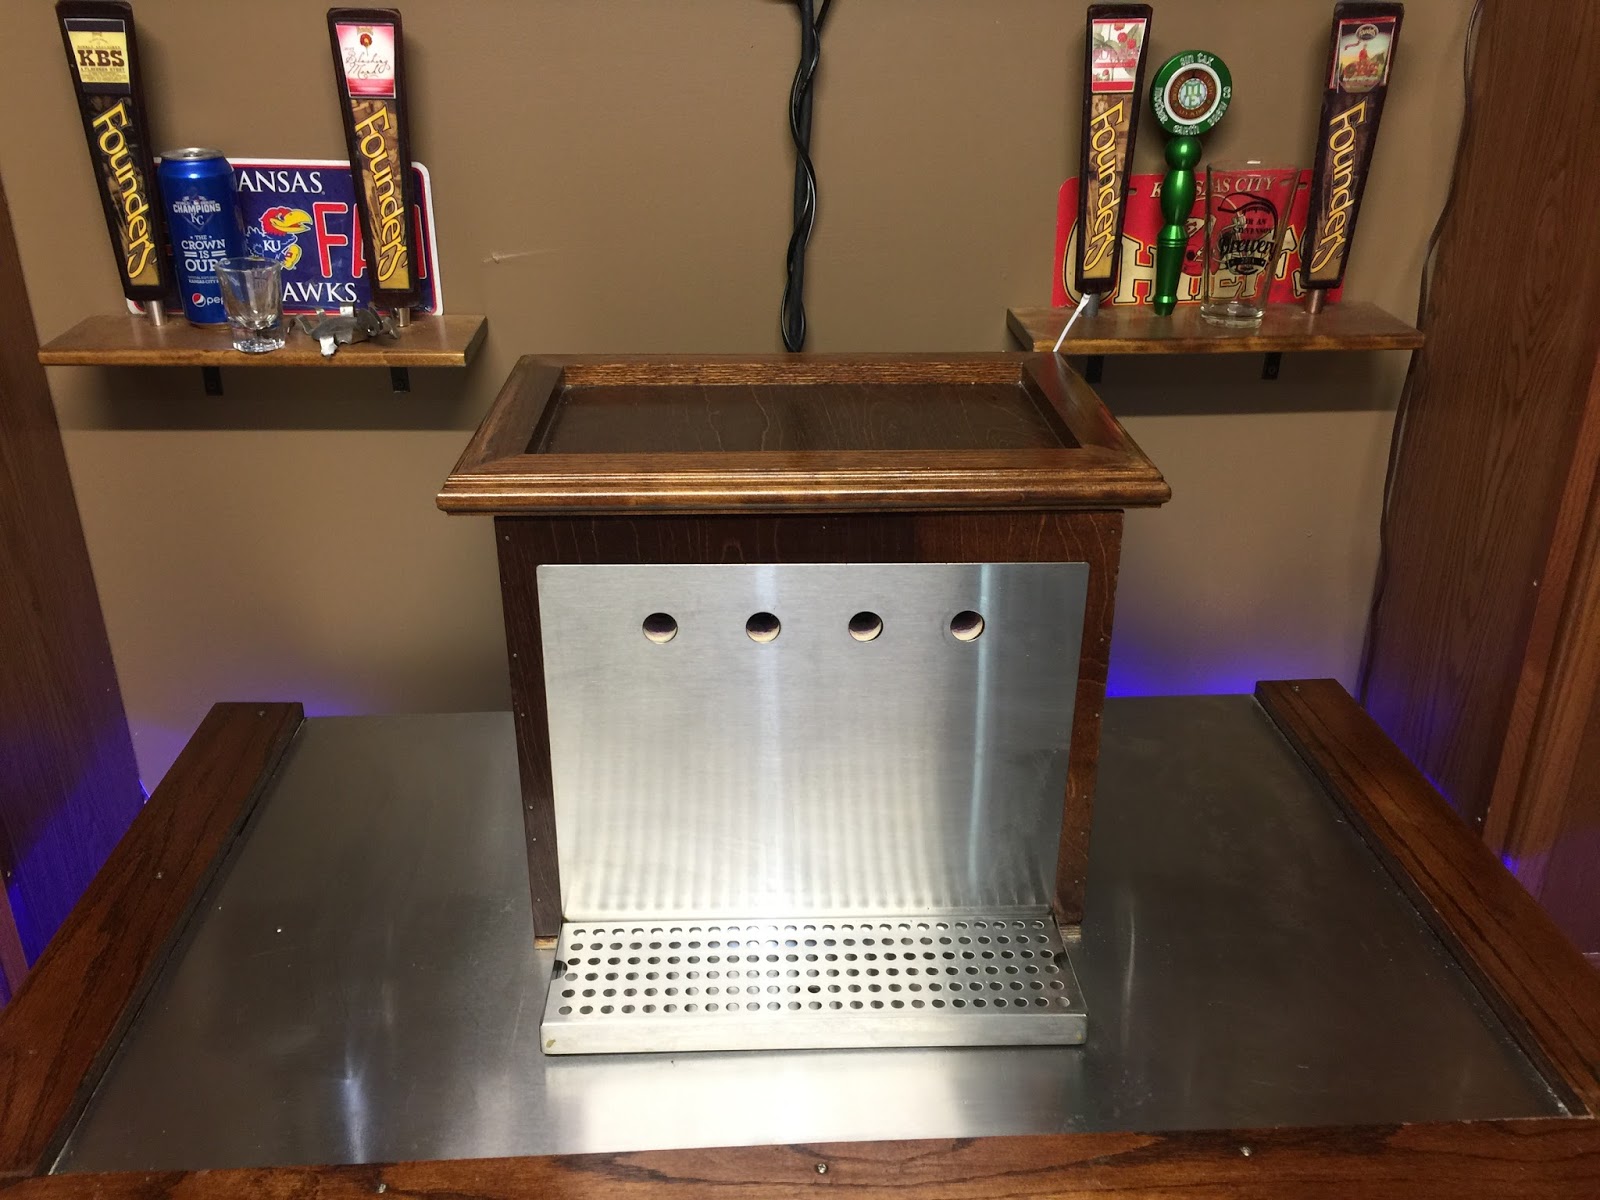
  • Hand built Tap Tower that will accept 4 tap handles 
    • NOTE: The tower is cooled so your beer always stays cold
  •  Stainless Steel Drip Tray
  • Stainless Steel Back Splash
  • Accommodates many keg combinations
    • Homebrew - (4) Tapped Kegs & 2 extra kegs conditioning
    • Store bought Kegs - (4) Sixtels (5 gallon kegs great for craft beer variety)
    • Store bought Kegs - (2) Large Kegs (Would still need 4 tap handles to plug holes) 
  • On heavy duty lockable casters to allow to easy movement
What you'll need (You can buy all this at Austin Home Brew Supply or SoCo Homebrew Supply):

  • Co2 Tank
  • Manifold for your keg configuration
  • Beer line


Tuesday, March 8, 2016

A homebrewers dream - Jester King Barrel Project

Living in Austin Texas does have it's advantages. We have great live music venues, a great economy, lots of great employers, some of the best BBQ in the world, a growing beer scene many cities would be envious to have and one of the best sour beer breweries in our back yard called Jester King.

Jester King is an authentic farmhouse brewery committed to making wild ales and spontaneously fermented beers that reflect the unique character of their location here in the beautiful Texas Hill Country.  That's how they describe themselves at http://jesterkingbrewery.com/.   Their beer is known throughout the world. It does have a real sense of place and one of the reasons I like them so much is because their place is my place.  I live just minutes from their location.   That is why when I had the chance to participate in a barrel project with the Austin Zealots and Jester King I literally jumped at the opportunity.  Not only did I get the opportunity to participate, I am know the project coordinator.  I gave myself that title.  I believe the Zealots would use something more the likes of "Head Jester King Barrel Project Cat Herder."

As I mentioned, I have now been part of this project two years.  Coordinating such an even basically means that I have the task of making sure everyone shows up to pull their batch from last year and brews the latest recipe to go into the barrel where it will sit and enjoy the many benefits of the Jester King micro flora.  Each year the beer turns out great and this year was no different.

The basic premise for the barrel project is simple.  Eleven passionate brewers decide on a common style, brew 5 gallons of that style and then contribute their 5 gallons to the barrel on a pre-selected day.   Jester King then, purely out of their kindness and fondness for home brewers then manages the barrel in their barrel room for roughly the next year.  Once that year is over, we start all over with eleven more batches being brewed for the next refill of the barrel.  This is usually done with a different style..

The batch we brewed last year for the barrel I participated in was a Belgian Blonde.  After we racked each brewers freshly fermented beer into the barrel we then added a Pinot Nior wine kit with skins for a refermentation in the barrel.  This year, pulling the beer was a treat.  It has a very nice acidity level to it with virtually not brett character.  I think this actually plays very well with the presence of the Pinot grapes.  Most people commented that the beer didn't quite meet our expectation in terms of being more wine forward but over all it is a very good example.   The beer also has a light rose tint and has a fairly good head on it when poured.  Of course I, like most home brewers, am a tinkerer and can not leave well enough alone.

My portion of the batch has been spit.  One half I'm leaving as is as some what of a control.  Frankly after kegging and carbonating, it makes for a great everyday drinker coming in at roughly 6% ABV going into the barrel.  It is probably a tad bit higher because of the refermenation. The other half is going to be dry hop with Nelson Sauvin hops from New Zealand.  Those hops are described as adding a grape aroma and flavor to beer so I'm hoping they will go nicely with the addition of the Pinot Noir wine kit and might even bring those flavors out a bit.

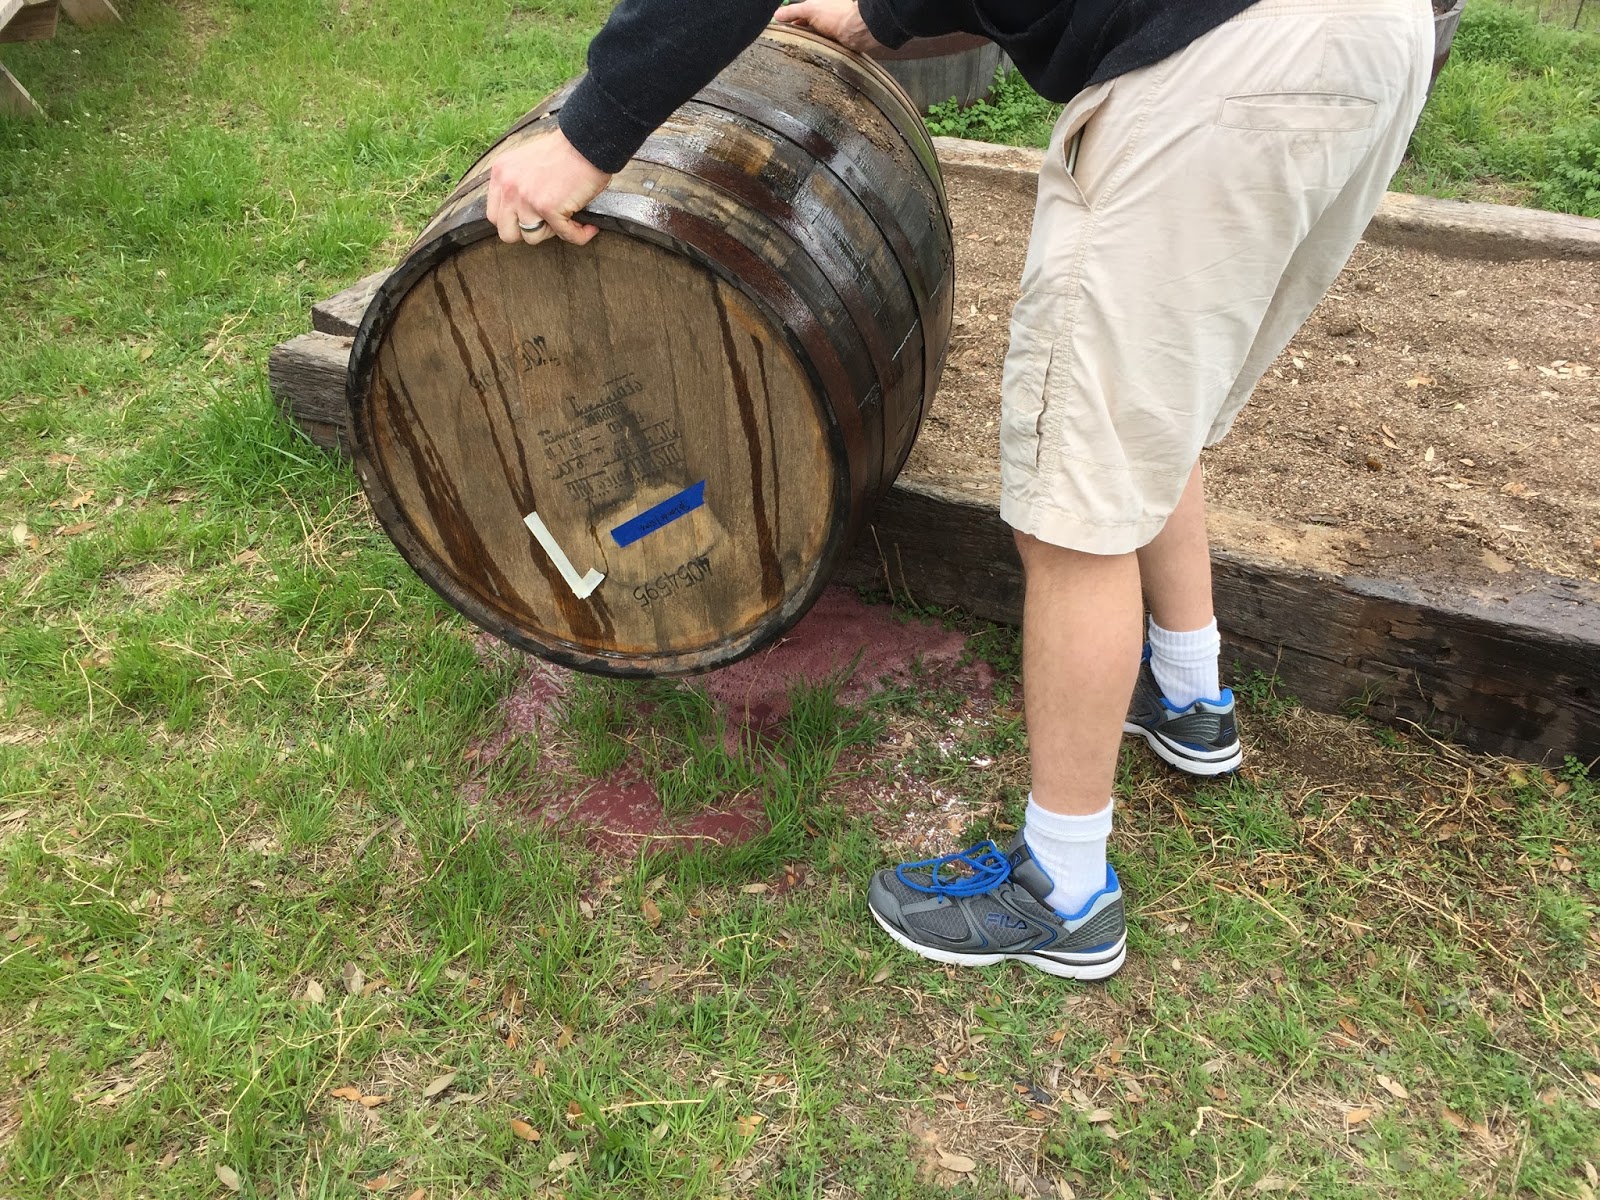
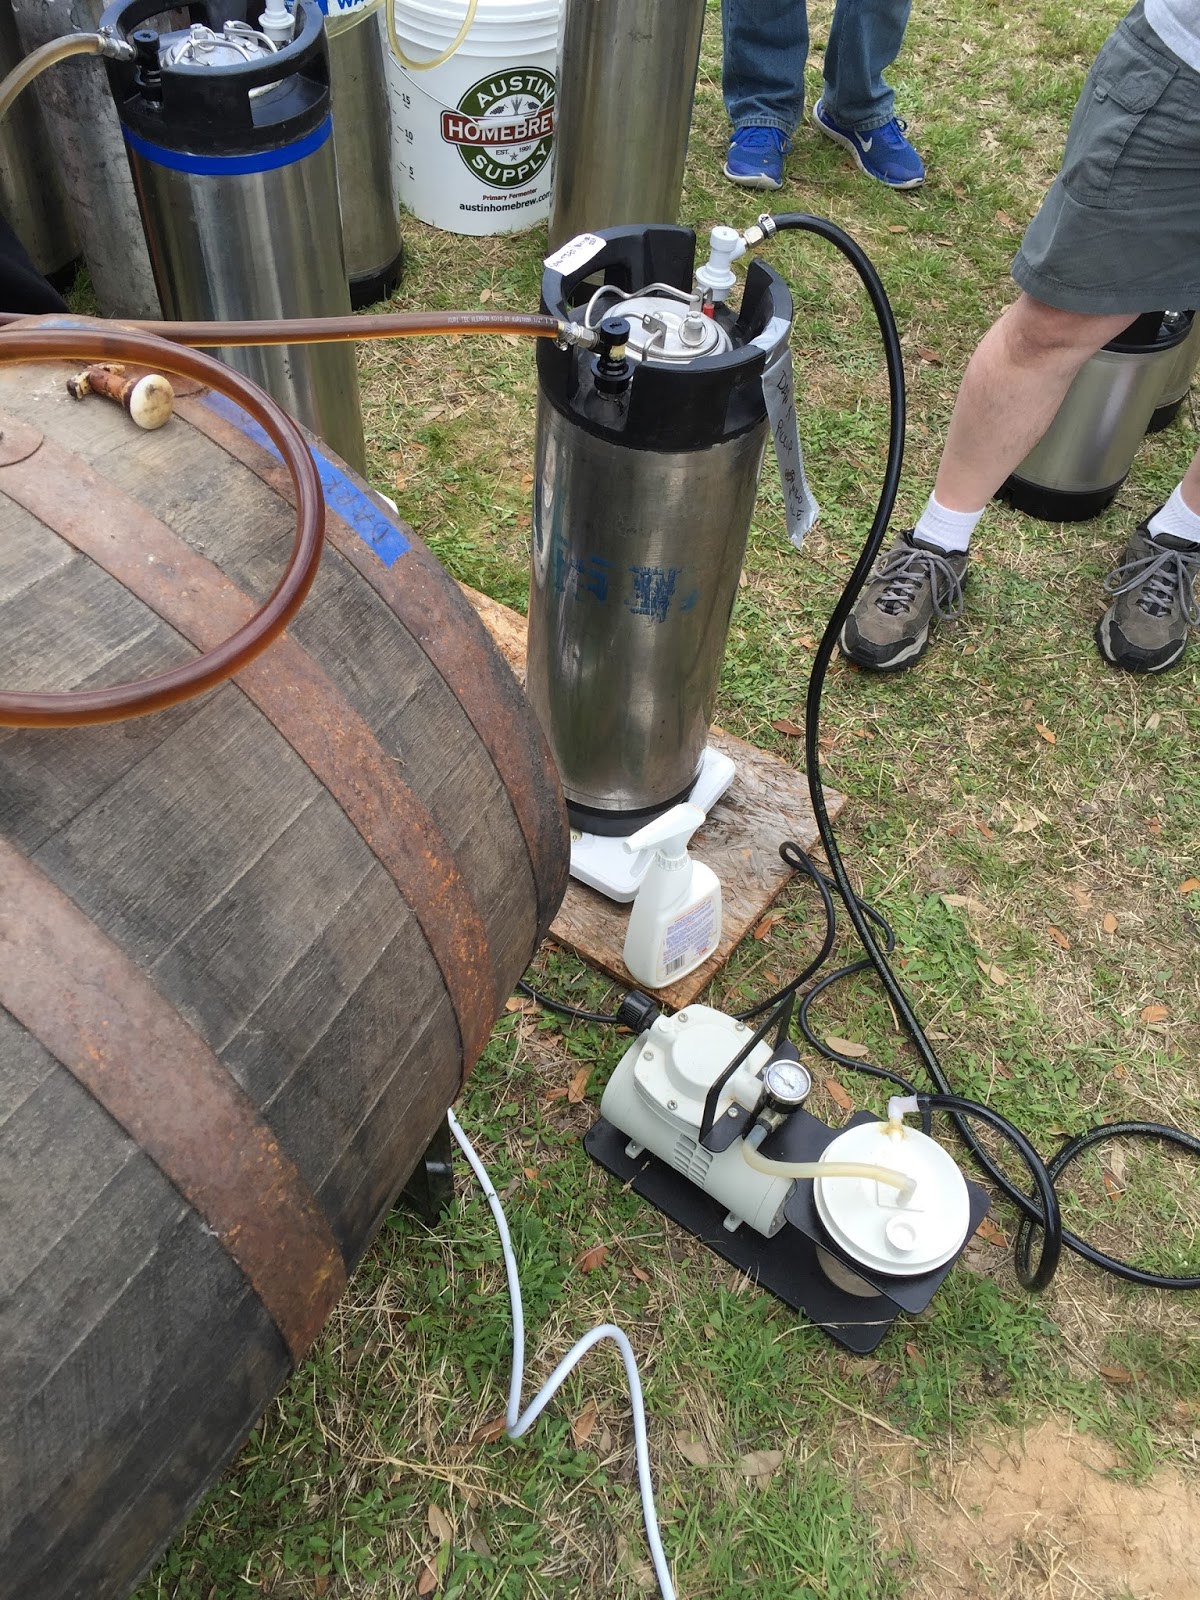
Here are some picture from the Feb 2014 and 2015 empty and refill days at the brewery.  I would be remiss if I didn't give a huge shout out to the guys at Jester King.  They have treated us great each time and have done the homebrewing community here in Austin Texas a significant service.  As the title to this post indicates, what homebrewer doesn't dream about getting to rest their hand crafted beer in a world renowned brewery such as Jester King.  Thanks Guys!

Feb. 2014 Empty and Refill


Feb. 28, 2015 Empty and Refill


Barrel Project Part Duex

While I was brewing for the barrel project this year I just happened to brew an extra 5 gallons or so of a Belgian Golden. As the coordinator, I wanted to take extra beer to the event as back up just in case someone didn't brew or in case someone might have brewed some death sauce.   Good for me, I ended up with 5 "extra" gallons of beer....if there is such a thing.   So what to do?  

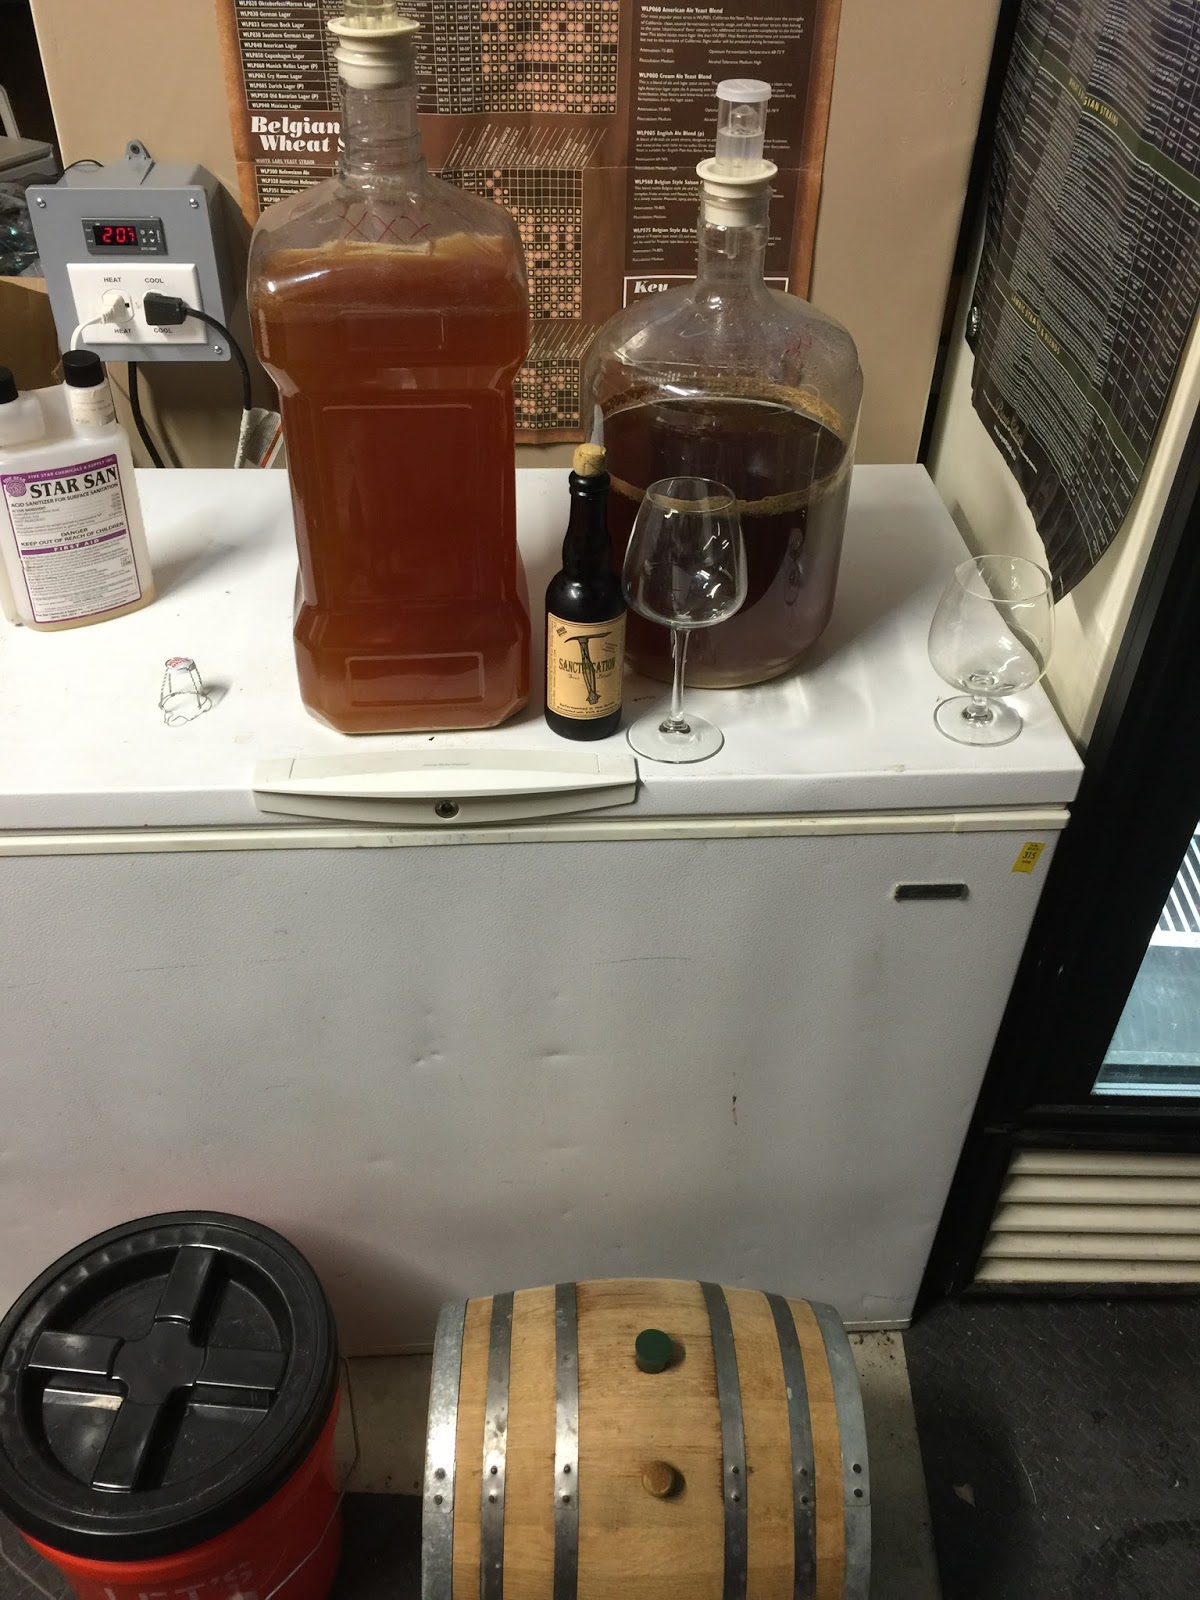
That's easy.  I have an empty barrel that has had a hard cider sitting in it for a while.  I wan't sure if the barrel was infected or not so I put 5 gallons of cider in it with some maltose to see if it went tart. Mainly I was checking for barrel character and making sure it didn't add anything overly acidic.  I'm not sure if that would have really been a good evaluation or not but I the cider turned out pretty good so I decided to use the barrel as a sour barrel.   I know, wanted to make sure it wasn't sour before I soured it.   That's because I wanted control of the bugs that are present...at least I wanted to influence heavily rules that territory.   

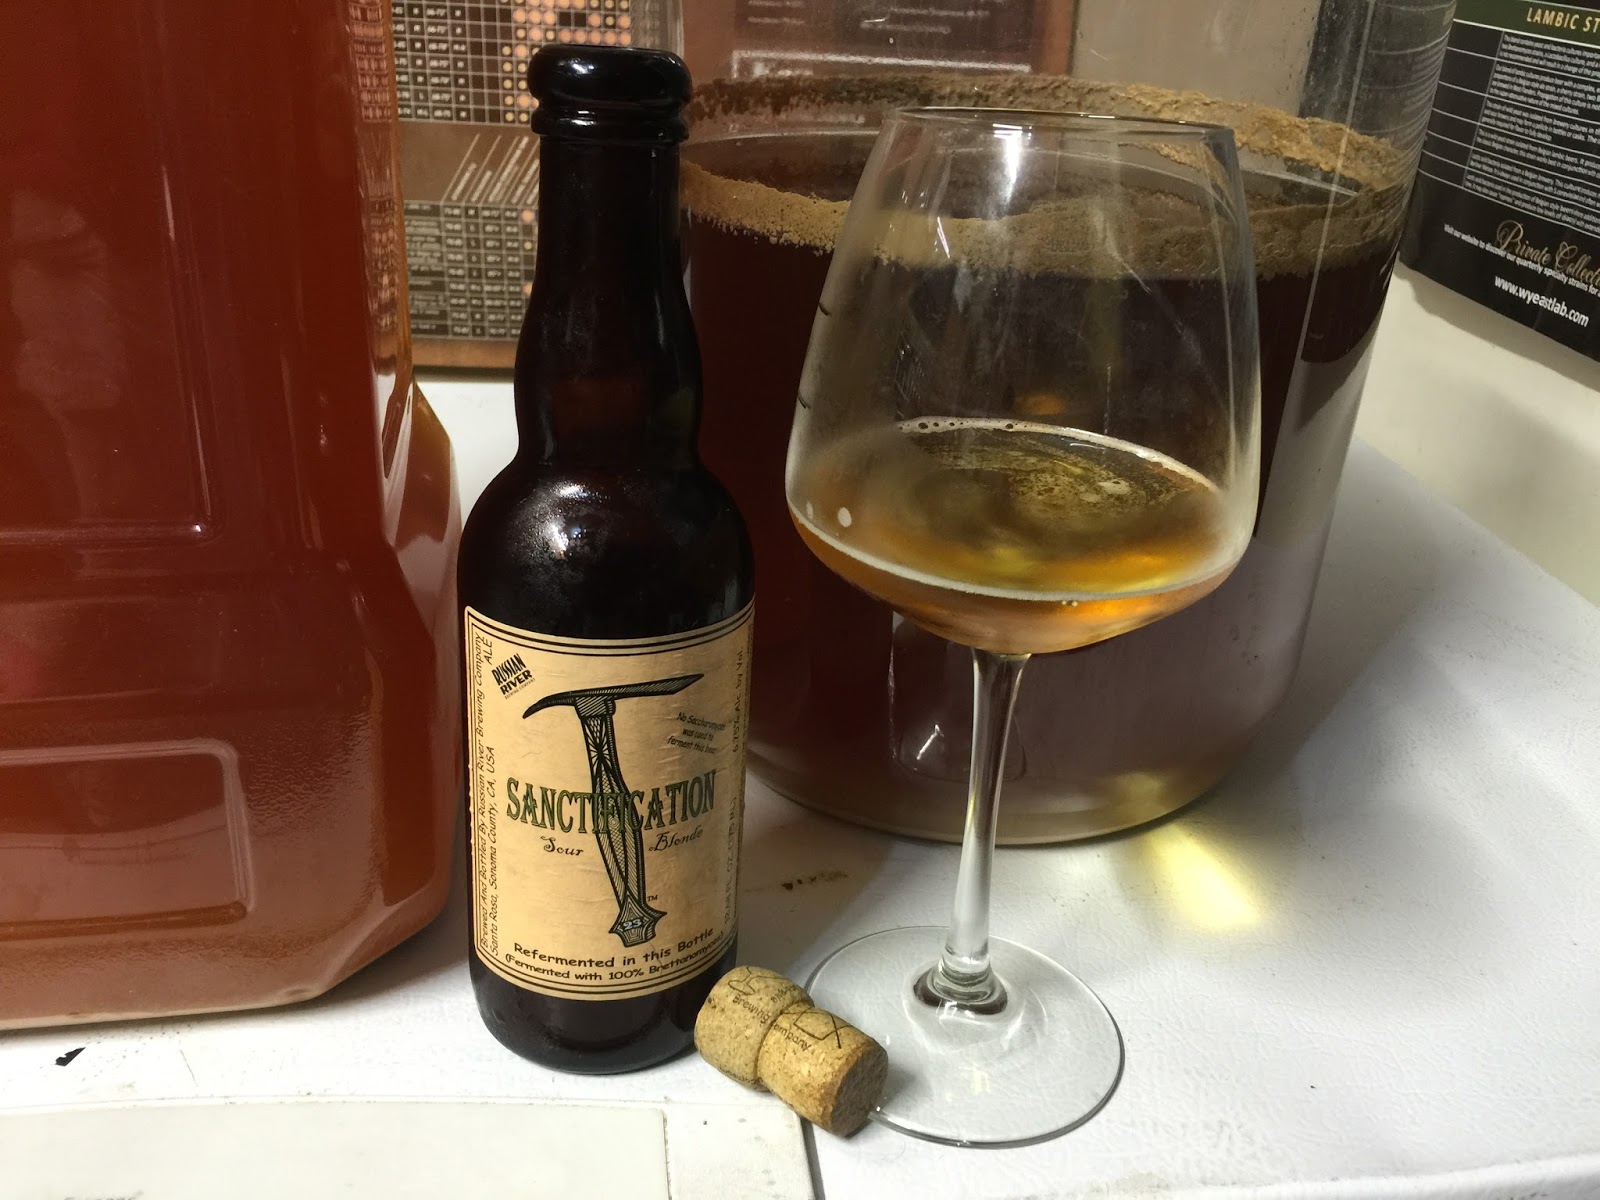
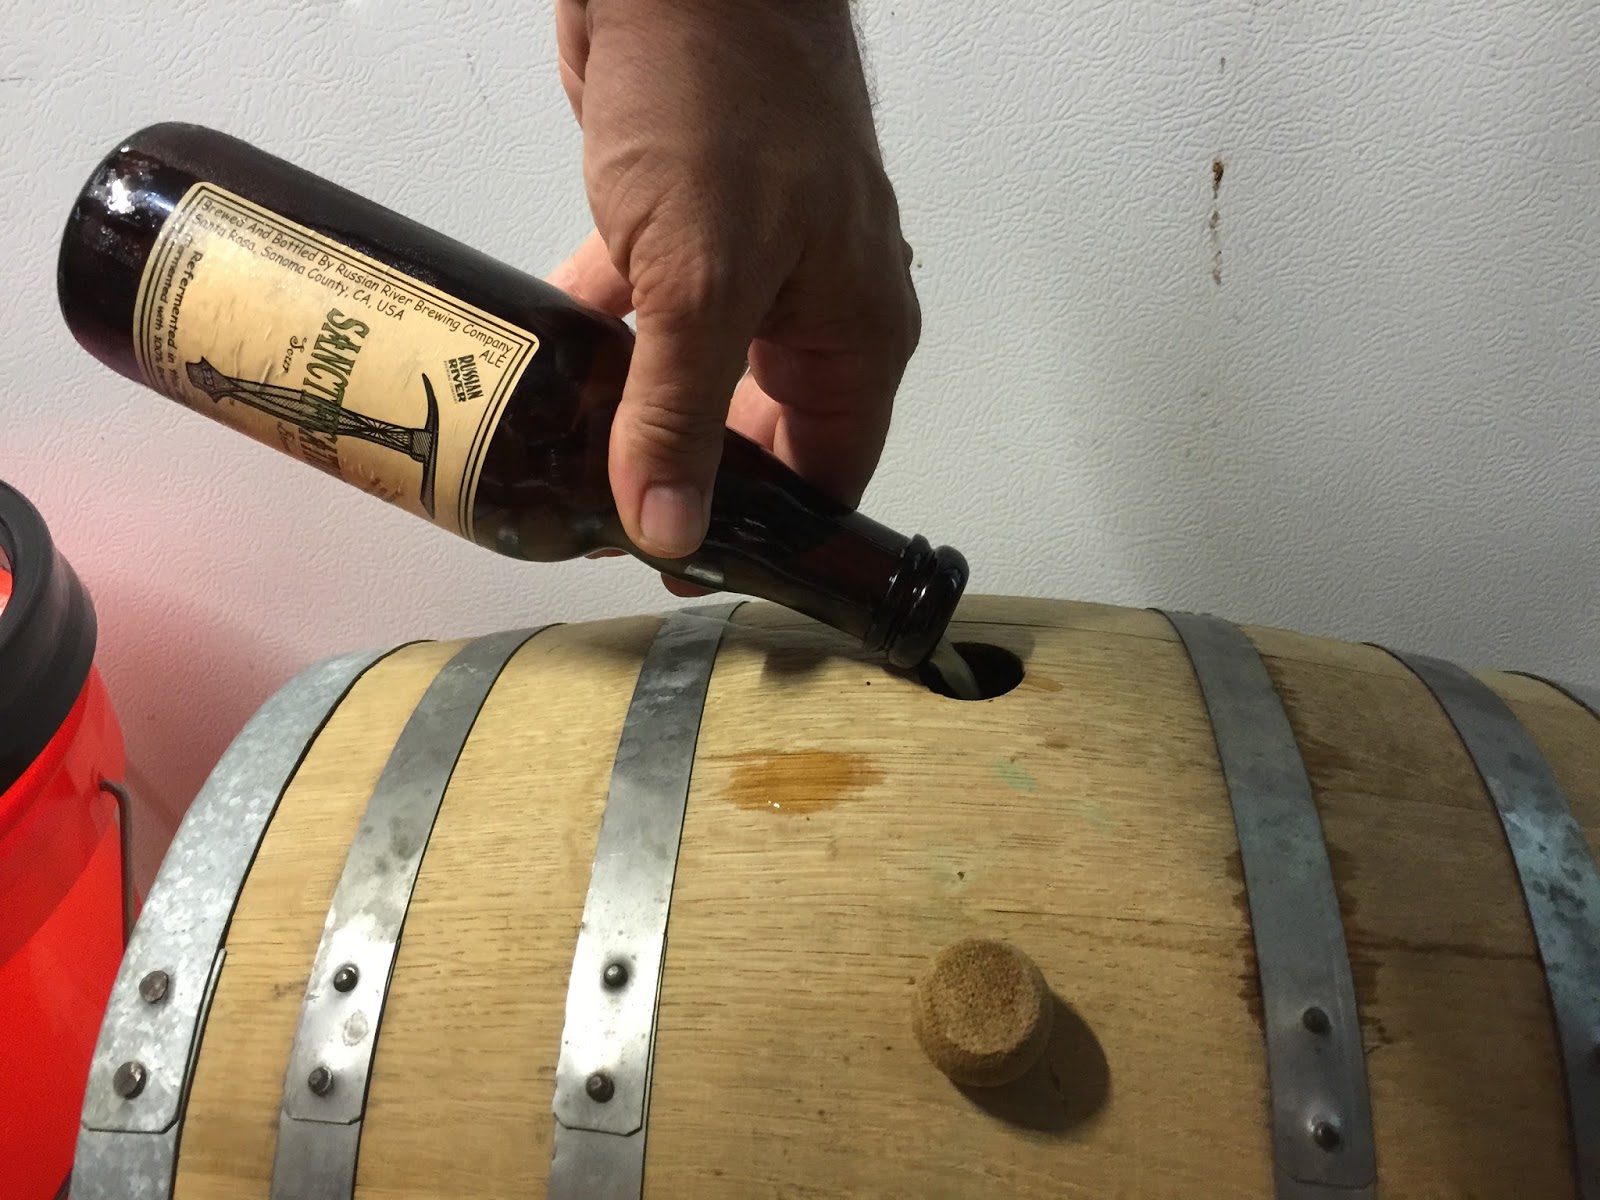
So tonight (March 8, 2015) I racked the "extra" beer into that barrel. Before doing that though, I emptied about a quarter bottle (mostly dregs) of a Russian River Sanctification.  After racking the beer into the barrel, I realized that the barrel was slightly larger than the 5 gallons I had brewed so what better to add to the barrel than the very beer I pulled from the Jester King Barrel Project.  It didn't take much.  Mostly top off and consisted of adding about 3/4 gallon of that beer into the barrel.  I didn't get pictures of that part.  

My hope is that by adding both the Russian River and the Jester King'ish beers to the barrel, I will have something nice after a while.  We will see.  I'll provide an update to this post somewhere in the future once the bugs have had a chance to get acclimated to the environment and do their thing.  Until then, Cheers! 


Friday, November 27, 2015

Reeses' Peanut Butter Beer

Your peanut butter is in my beer....your beer is in my peanut butter.    

It's that time of year.  It has become a tradition each Thanksgiving to brew a beer with family for the yearly Christmas trip to Kansas.  Two years ago, I did a Peanut Butter Kolsh.   Last year a spot on PB&J (no real style).  This time....Reeses' peanut butter cup.   Of course there is the obvious equation for this beer to be a hit.  Stout + Peanut butter = Reeses'.  But that would be too easy and quite frankly, it's been played before.   So, how about a Blonde + Peanut Butter + Cocoa Nibs = Reeses'?  I guess we'll find out.

Here is the recipe.

Recipe Specifications
--------------------------
Boil Size: 7.49 gal
Post Boil Volume: 6.34 gal
Batch Size (fermenter): 6.00 gal 
Bottling Volume: 5.76 gal
Estimated OG: 1.057 SG
Estimated Color: 5.5 SRM
Estimated IBU: 16.0 IBUs
Brewhouse Efficiency: 75.00 %
Est Mash Efficiency: 76.3 %
Boil Time: 60 Minutes

Ingredients:
------------
Amt                   Name                                                                   %/IBU       
8 lbs 4.0 oz        Pale Malt (2 Row) US (2.0 SRM)                       67.7 %       
1 lbs 13.0 oz      White Wheat Malt (2.4 SRM)                             14.9 %       
12.0 oz               Aromatic Malt (26.0 SRM)                                 6.2 %       
12.0 oz               Oats, Flaked (1.0 SRM)                                      6.2 %       
10.0 oz               Milk Sugar (Lactose) (0.0 SRM)                        5.1 %       
0.75 oz               Northern Brewer [6.90 %] - Boil 60.0 min        20.9 IBUs   
1.0 pkg               Safale American  (DCL/Fermentis #US-05)           

Mash Schedule:
----------------------------
Name                   Step Temp  Step Time   
Protein Rest         122.0 F       30 min       
Saccharification   158.0 F       60 min       
Mash Out             168.0 F       10 min       


If you read the PB&J article from last year, I explain the reasons why I developed this recipe and why I do a protein rest on this one.  You'll also read how I do the Peanut Butter addition.  Most would simply add PB2 which is a dried Peanut Butter powder.  The reason most brewers use this is because the oil has been removed from the peanut butter and oil is bad for head retention.  But I've figured out a why to add real peanut butter and not lose the head on the beer.

I brewed this beer on Thanksgiving night from abut 9:30pm to 3:30am.  Here are the stats:

OG: 1.052
FG: 1.016
Est FG: 1.015
ABV: 4.7
Est ABV: 4.9%
IBU: 21

Once I do the peanut butter addition, I'll take more pictures and add them to this article.

DECEMBER 8TH - ADDING THE PEANUT BUTTER FOR THE "DRY PB'ING" 

I used 2.5 lbs of peanut butter.  I'm guessing others will work but I've only ever used Jif.  I'm comfortable with the flavor and I know how much of an oil slick will be on the top of the beer after 7 days.

I laid down the cheese cloth after washing and spraying the counter with a star san solution.  After laying down the cheese cloth, I sprayed the cheese cloth with the same solution.  Make sure it's completely saturated.

I then spread the peanut butter out as evenly as possible.  This is the hardest part.
After spreading, you roll the logs.  Because of the moisture level, you shouldn't have a problem getting the peanut butter to roll by lifting up on side at each end.  Once rolled, sanitize waxed (un flavored, un scented) dental floss by soaking it in sanitizing solution and then tie at even increments as seen in the pic.

Finally, tie a long piece of floss at each end on each log.  You can leave this hanging out of the top of the fermenter.  This will make retrieval easier once the "dry PB'ing" is done.


DECEMBER 16TH - ADDING THE COCOA NIB AND KEGGING


In this pic, I'm showing how I drained the Cocoa Nibs.  I soaked them (4oz) for about 2 weeks in a small canning jar with vodka (use good vodka or you will end up tainting your beer with a harsh alcohol).
When racking into the keg or bottling bucket, make sure to keep the tip of the racking cane beneath the oil slick on the top of the beer.  You can continue to rack until you're just about to the point where the oil slick is getting ready to go into the cane.  As you can see in this pick, the oil slick coats the side of the fermenter.  This is what you want becuase that means there is less on the top of the beer allowing you to get more into your keg.  What ever you do, don't rack the oil because that will totally kill the beers head retention.
Just another pic of the oil slick on the side of the fermenter.  PBW will get that off just fine.